1.Create Your Account
Create a Cloudbypass API account — Sign Up
Create a Cloudbypass Proxy account — Sign Up
One account unlocks API and proxy access. Log in within 30 days and click the 🎁 Trial Activity to claim free credits and traffic.
2.Test with Code Generator
Enter your target URL in the Code Generator to test Cloudflare challenge handling.
V1 includes rotating IPs — no proxy setup needed if accessible.
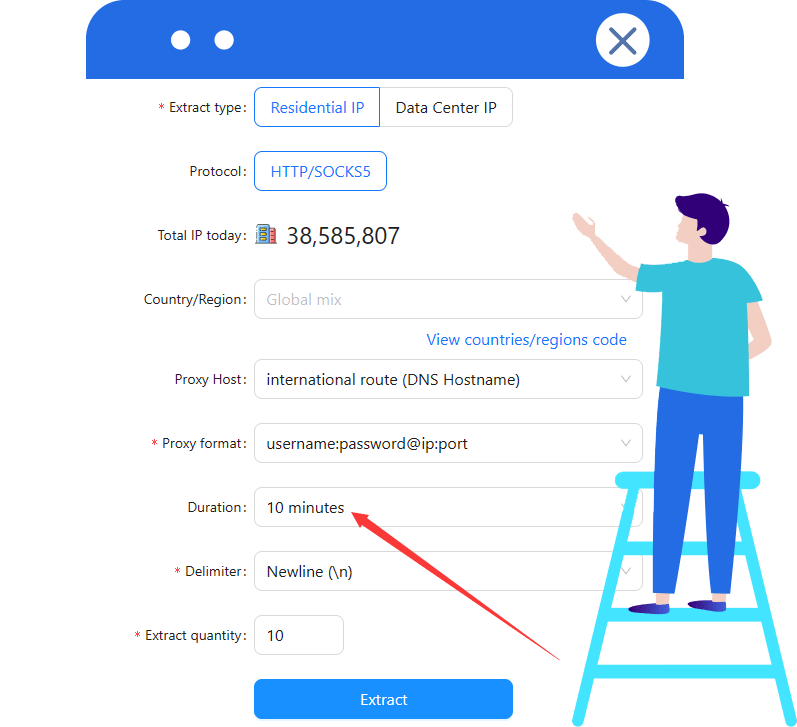
V2 requires a fixed or time-based IP. When using Cloudbypass rotating IPs, set duration ≥ 10 minutes.
See the API docs or contact support.
3.Integrate Cloudbypass API
Add the Cloudbypass API to your app, test, and deploy to production.
4.Choose a Plan
Pick a plan for your usage — View Pricing
For Cloudflare JS Challenge, use a Points Plan.
For traffic, choose Rotating Datacenter or Rotating Residential.
Cloudflare handling uses points and may need proxy support. A proxy alone cannot handle Cloudflare.